
CODM Legendary Blackout Squad Gameplay: M13 & ZRG 20mm Final Zone Battle
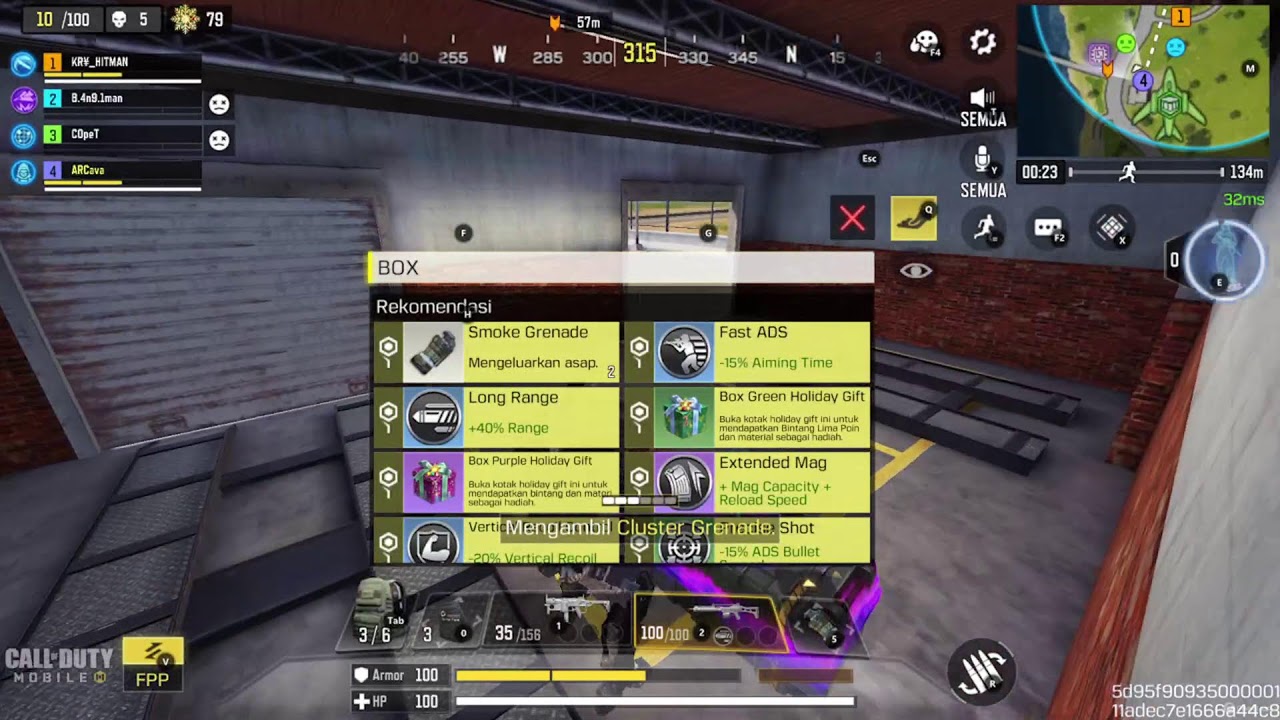
Life sometimes feels a lot like Call of Duty: Mobile. You work hard from the beginning, survive every ridiculous situation, and then right at the end you just sit there thinking, "Well... maybe next time." That is basically the story of this Battle Royale match on Blackout, where the squad enters with one noble objective: push toward Legendary rank.
The match starts smoothly. Communication is working, rotations make sense, and the weapons are definitely not the kind you find at the bottom of a bargain bin. But as always with CODM, skill is only part of the equation. Sometimes you also need to know whether luck has decided to cooperate with you that day.
🎯 Early Game: A Clean Landing Instead of a Panic Drop
We begin with a relatively safe and strategic landing. In more professional terminology, we did not simply throw ourselves onto the map like an instant noodle packet dropped into boiling water.
The landing location gives us enough room to loot while keeping a practical route toward the next zone. The philosophy is simple: survive first, look cool later.
🔫 M13 & ZRG 20mm: A Brutal Combination With Style
🔥 M13: The Reliable All-Rounder
The M13 feels like that dependable friend who is always ready when things go wrong. It is fast, stable, and does not require a dramatic introduction every time a fight begins.
For close to mid-range engagements, it gives the squad a reliable option for dealing with enemies quickly. A few good bursts of fire and suddenly the other player may start wondering why they decided to log into CODM that particular day.
🎯 ZRG 20mm: The Anti-Hope Sniper
When an enemy is relaxing at long range and thinking they have plenty of time to enjoy the scenery, the ZRG 20mm has a different opinion.
The damage is serious, the presence is intimidating, and a well-placed shot can turn an enemy's peaceful little camping session into an unexpected trip back to the lobby.
💥 First Squad Fight: Somebody Is Going Back to the Lobby
By the middle of the match, we encounter another squad. This is where the teamwork starts to show. Cover is coordinated, communication is flowing, and everyone understands what they are supposed to do.
The result is a clean squad wipe without too much unnecessary drama.
This is also the moment when confidence starts climbing. And if you have played enough CODM, you already know what usually happens after that. The game hears your confidence and quietly starts preparing a problem.
🚗 Fast Rotation: Move Before the Map Moves You
Vehicle rotation becomes an important part of the match. Blackout is a large map, and being late to the safe zone can put the squad in a very uncomfortable position.
The simple rule is this: once you know where the zone is going, do not spend ten minutes holding a committee meeting. Get moving, then figure out the details along the way.
Of course, driving directly into a squad because you were too excited is not considered advanced strategy. That is simply donating a vehicle.
⚠️ Final Zone: Where Every Mistake Suddenly Costs Everything
Once the match reaches the late game, the atmosphere changes completely. The safe zone gets smaller, enemy squads become more aggressive, and your heart starts working an unexpected night shift.
Positioning becomes everything. A small mistake can turn a strong match into a spectator session where you watch the enemy calmly loot your backpack.
This is the point where patience matters just as much as aim. Sometimes the smartest play is not shooting first. It is waiting for the right moment and making the enemy regret moving into the wrong position.
💔 Final Seconds: A Clutch Moment That Almost Became History
This is where things become painful. The match is almost perfect, the squad is within reach of victory, and there seems to be only one final step left.
Then CODM does what CODM occasionally does best: it creates a completely unnecessary plot twist.
A clutch moment happens, but the final result leaves the squad with that familiar sentence: "Well, forget it. Next game, let's go again."
It is frustrating, but that is also why Battle Royale can be addictive. A match that lasts more than fifteen minutes can disappear in a few seconds, and suddenly you are already thinking about the next drop.
📊 Important Gameplay Timestamps
- [01:03] - Initial landing
- [03:13] - Looting and preparation
- [06:25] - First squad fight
- [11:41] - M13 and ZRG setup
- [12:30] - Moving toward the final zone
- [17:05] - Critical moment
- [17:22] - Final result
🎮 How to Avoid Becoming the "Almost Won" Squad
- Do not become overconfident just because you wiped another squad.
- Check the safe zone before committing to unnecessary fights.
- Use an AR and sniper combination to handle different engagement ranges.
- Good communication is more valuable than pretending to be the best aimer on the server.
- Save useful equipment and positioning options for the final zone.
- When the final circle gets chaotic, think before pushing instead of rushing because everyone else is shooting.
📢 Final Thoughts from the ARCava Coffee Shop
This gameplay teaches one important lesson: CODM gets seriously unforgiving at Legendary rank. Almost everybody suddenly looks like a professional player, and one small mistake can become an extremely expensive mistake.
But that is exactly what makes it fun. If you win every match, you eventually become arrogant. If you lose every match, you start looking at the uninstall button. Neither option is particularly healthy.
So take the loss, laugh at the ridiculous moments, learn from the mistakes, and queue up again. Because sometimes the difference between "almost won" and "WINNER" is nothing more than one better decision in the final ten seconds.
🎥 Watch the Full CODM Legendary Blackout Gameplay
SEO Tags: CODM, Call of Duty Mobile, CODM Battle Royale, CODM Legendary Rank, CODM Blackout, M13 CODM, ZRG 20mm CODM, CODM Squad Gameplay, CODM BR Tips, CODM Legendary Gameplay, CODM Strategy
Comments
Post a Comment